How to Deodorize Trash Cans Without Covering Up
Evangelize


October 5, 2026
That sharp little whiff when you lift the kitchen lid is not a personality trait of your home. It is trash-can funk building a tiny kingdom of spilled coffee, leaking bags, food residue, and moisture. Learning how to deodorize trash cans is less about blasting the area with perfume and more about removing the grime that keeps resurrecting the smell.
A scented spray may briefly make the bin smell like tropical fruit met a garbage truck. Cute. But if the odor source is still clinging to the lid, seams, or bottom of the can, the demon will be back by dinner. Here is the practical exorcism.
Why Trash Cans Smell So Bad
Trash odors are not just caused by whatever is currently in the bag. Liquid leaks through tiny tears. Food splatters stick under the lid. Grease and organic residue settle into textured plastic, handles, rims, and the narrow gap where the bag folds over the edge. Add warmth and humidity, and odor-causing bacteria get a very hospitable little condo.
Plastic cans can be especially stubborn because scratches and scuffs hold onto residue. Metal cans are easier to wipe down, but their lids and foot pedals still collect grime. A lined can that looks clean can absolutely harbor an underworld situation at the bottom.
The fix is a two-part job: clean away the odor source, then keep moisture and residue from taking over again. Deodorizing without cleaning is like putting a candle in a haunted basement and calling the ghost evicted.
How to Deodorize Trash Cans: The Deep-Clean Method
Start on trash day, when the can is empty and you are not trying to scrub around a week-old mystery. Take the bin outside, into a bathtub, or to a utility sink if it is small enough to manage.
Empty, rinse, and inspect the crime scene
Remove the bag and any loose debris. Turn the can upside down and shake out crumbs, wrappers, or old spills that have slipped beneath the liner. Rinse the interior with hot water. Do not skip the lid, hinge, rim, handles, pedal, or wheels. Those are the usual hiding places for odor residue.
If there is dried-on gunk, let warm, soapy water sit in the can for five to 10 minutes. This softens the mess so you do not have to scrub like you are banishing a particularly stubborn poltergeist.
Scrub with soap, not just scent
Use dish soap and warm water with a sponge or scrub brush. Focus on corners, seams, and the underside of the lid. Dish soap is especially helpful for greasy food residue, which can trap smells long after the visible mess is gone.
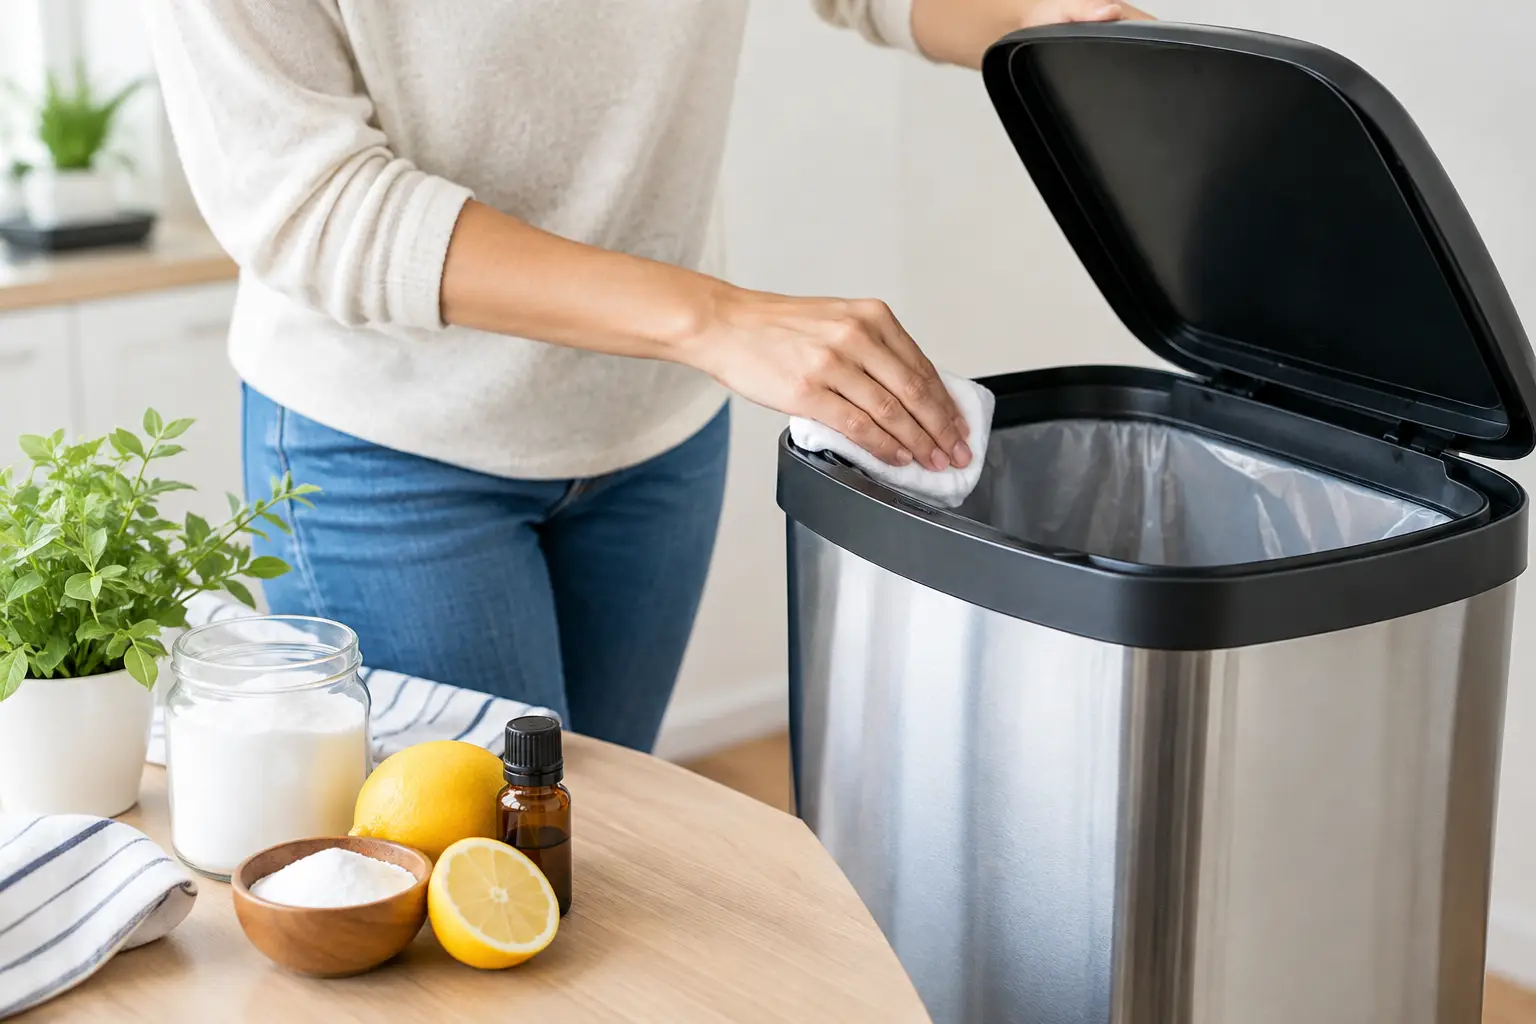
For a plastic can with stubborn odor, make a paste of baking soda and a little water. Spread it over smelly areas, let it sit for 10 to 15 minutes, then scrub and rinse. Baking soda helps absorb odors, but it works best after you have removed the actual grime. It is not a magical talisman you sprinkle over a sticky can and forget.
If you prefer vinegar, use it as a follow-up wipe or rinse diluted with water. Vinegar can help with certain lingering smells, but never mix it with bleach or other cleaners. That combination can create dangerous fumes, and no trash can is worth summoning a chemical nightmare.
Dry it completely before adding a new bag
Moisture is odor’s favorite accomplice. Wipe the can dry with an old towel, then leave it open to air-dry fully before putting in a fresh liner. If the bottom is wet when you add a bag, you have essentially prepared a damp little incubator for the next round of funk.
For cans that live outside, tip them slightly after rinsing so trapped water can drain. Check the lid and hinges too. A clean, wet lid can still develop a musty smell.
Stop the Stink Before It Starts
The best trash-can deodorizer is a routine that gives odors very little time to settle in. You do not need a hazmat suit or a 14-step cleaning ritual. A few small habits make a dramatic difference.
First, deal with wet food waste. Drain cans, jars, and containers before tossing them. Let greasy takeout boxes cool and wipe out excess sauce when possible. If raw meat packaging, seafood scraps, or especially fragrant leftovers are headed for the trash, tie them in a small bag first. In warm weather, take them outside sooner rather than later.
Second, use the right liner. A bag that is too small slips down and exposes the sides of the can to spills. A flimsy bag may save a few cents until it leaks chicken broth into the bottom of your bin. Choose a liner that fits over the rim securely, especially for kitchen cans that handle heavy, wet waste.
Third, clean small spills immediately. If something leaks, wipe it up before placing a new bag in the can. Waiting until trash day gives odor-causing residue several days to set up a full infernal government.
Use Baking Soda the Right Way
Baking soda is useful, inexpensive, and not remotely glamorous. It can help absorb mild odors between washings, particularly in kitchen, bathroom, and diaper pail trash cans.
Sprinkle a small amount in the clean, dry bottom of the can before inserting a fresh bag. Replace it whenever you change the bag or if it gets wet. You can also place an open, shallow container of baking soda near the bottom of a larger can, as long as it will not tip over.
Skip this trick if your bin regularly leaks. Wet baking soda becomes a paste, then a crusty nuisance that adds another thing to clean. In that case, focus on a better liner and more frequent rinsing instead.
Avoid the Fragrance Cover-Up Trap
A heavily scented air freshener can make a trash can smell worse, not better. When synthetic fragrance collides with old food odor, the result can be oddly sweet, sour, and impossible to ignore. Your nose knows when something is merely being covered up.
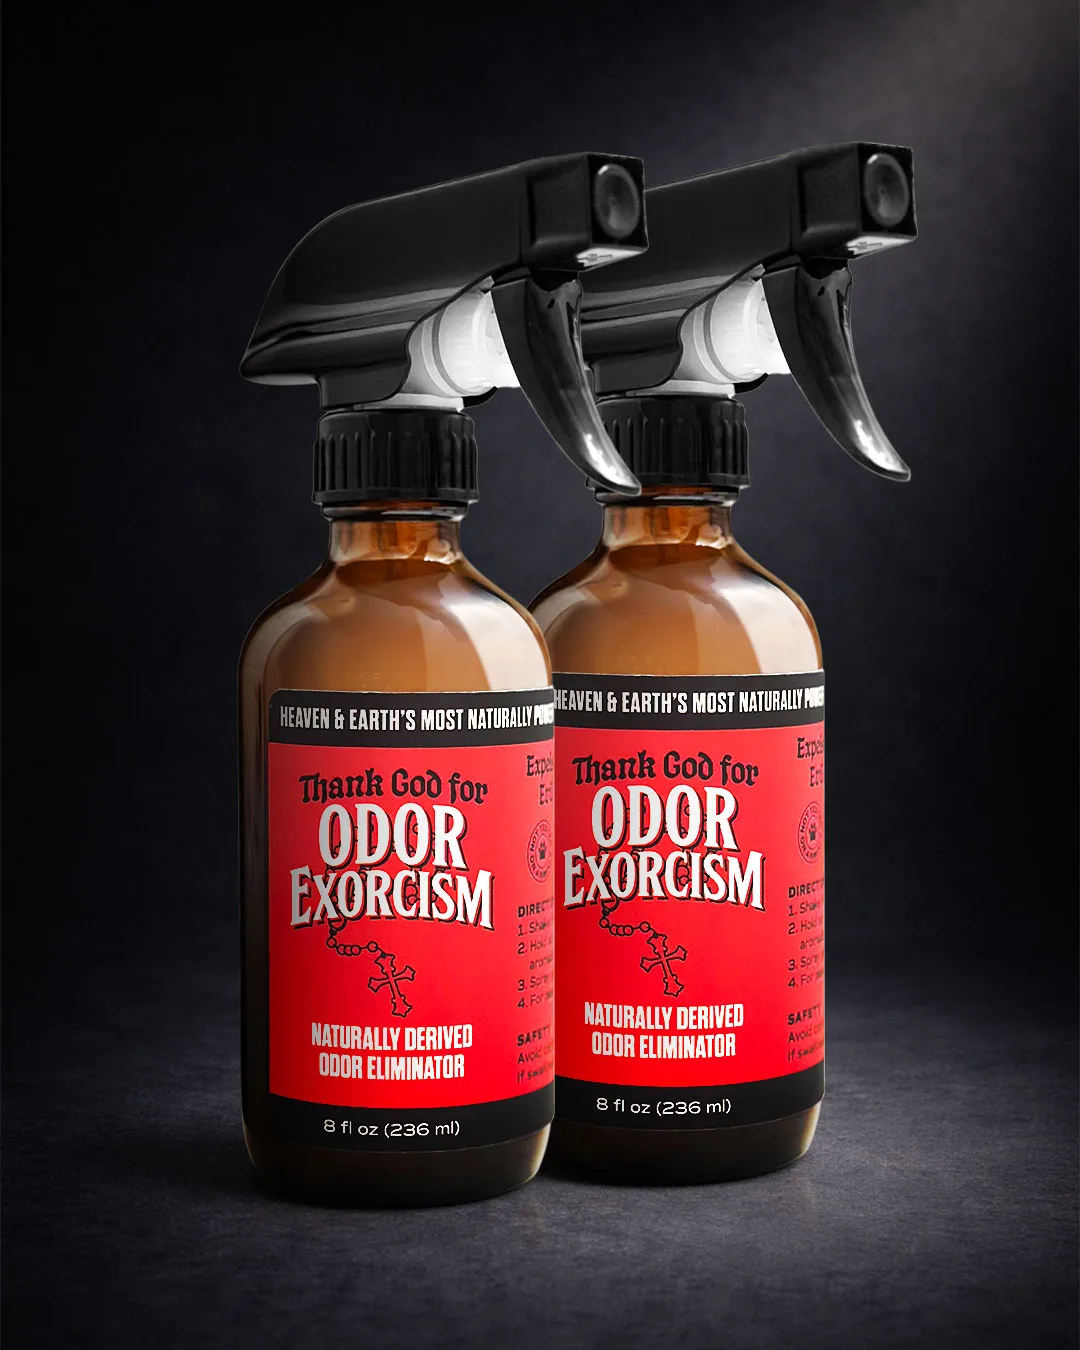
After washing and drying the can, a naturally derived odor-eliminating spray can be useful for hard surfaces like the lid, rim, and exterior. The goal is to neutralize the lingering smell, not perfume the garbage. Use it according to the label, allow the surface to dry, and then add a clean bag.
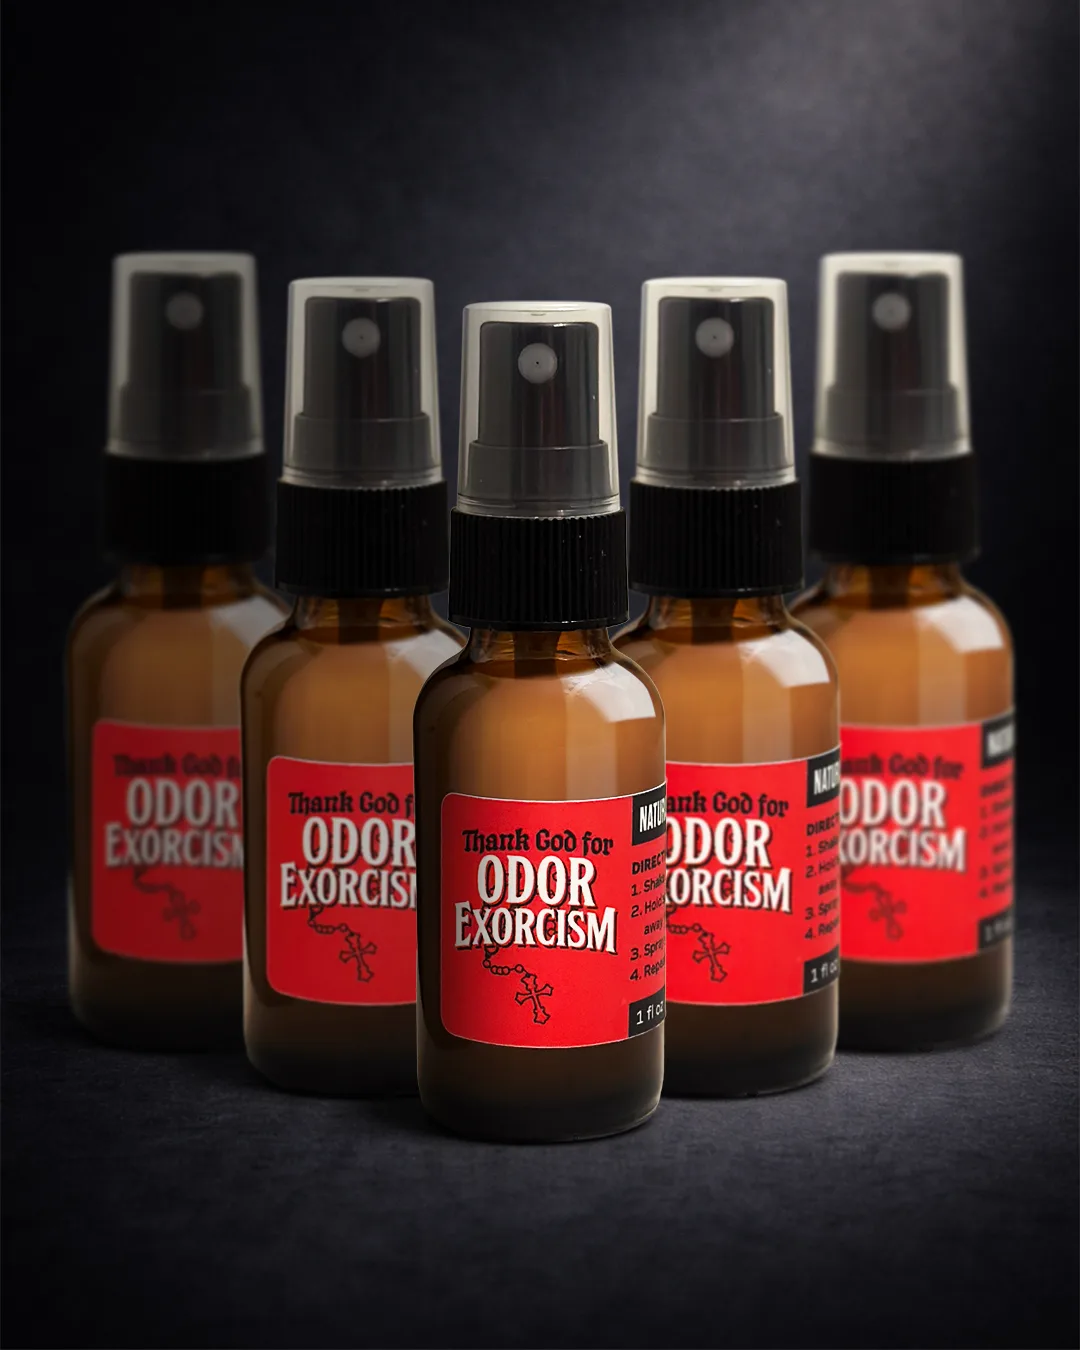
Odor Exorcism is made for exactly this sort of household haunting: a non-toxic, essential-oil-based option for freshening hard and soft surfaces without turning your kitchen into a synthetic-fragrance fog machine. One treatment is enough. The trash can does not need to smell like a luxury spa. It needs to stop smelling like trash.
How Often Should You Clean a Trash Can?
It depends on what goes in it. A kitchen trash can that handles food scraps should get a quick wipe whenever there is a leak and a deeper wash about once a month. In summer, in a small apartment, or in a home with pets or diapers, every two weeks may be more realistic.
Bathroom cans usually need less attention unless they collect damp tissues, pet waste, or cosmetic spills. Outdoor bins may only need a seasonal deep-clean, though hot weather, raccoons, and garbage-day drips may demand more frequent intervention.
Use your nose as the final authority. If a fresh bag goes into a bin and the smell returns immediately, residue is still lurking somewhere. Check the underside of the lid, the bag rim, and the bottom corners before blaming the new trash.
A Few Smell Problems That Need a Different Fix
If your trash can smells musty even when empty and dry, inspect it for trapped moisture or mildew around the lid, pedal mechanism, or inner bucket. Clean it thoroughly, dry it in direct sunlight if the material allows, and improve airflow around where the can is stored.
If the smell seems to come from beneath the can rather than inside it, check the floor, cabinet base, or wall behind it. A past leak may have seeped into wood, grout, or a mat. Cleaning only the bin will not solve an odor that has migrated to its surroundings.
For recurring fruit-fly trouble, clean the rim and lid more often, keep food waste sealed, and empty the trash sooner. Flies are not impressed by a floral scent. They are looking for residue and moisture, so remove both.
A trash can should not demand incense, apology letters, or a permanent window-open policy. Keep it clean, keep it dry, and deal with leaks while they are still small. Then every time you lift the lid, you can focus on taking out the trash instead of confronting whatever has been living in it.