Diaper Odor Removal That Works, Not Just Hides
Evangelize


September 21, 2026
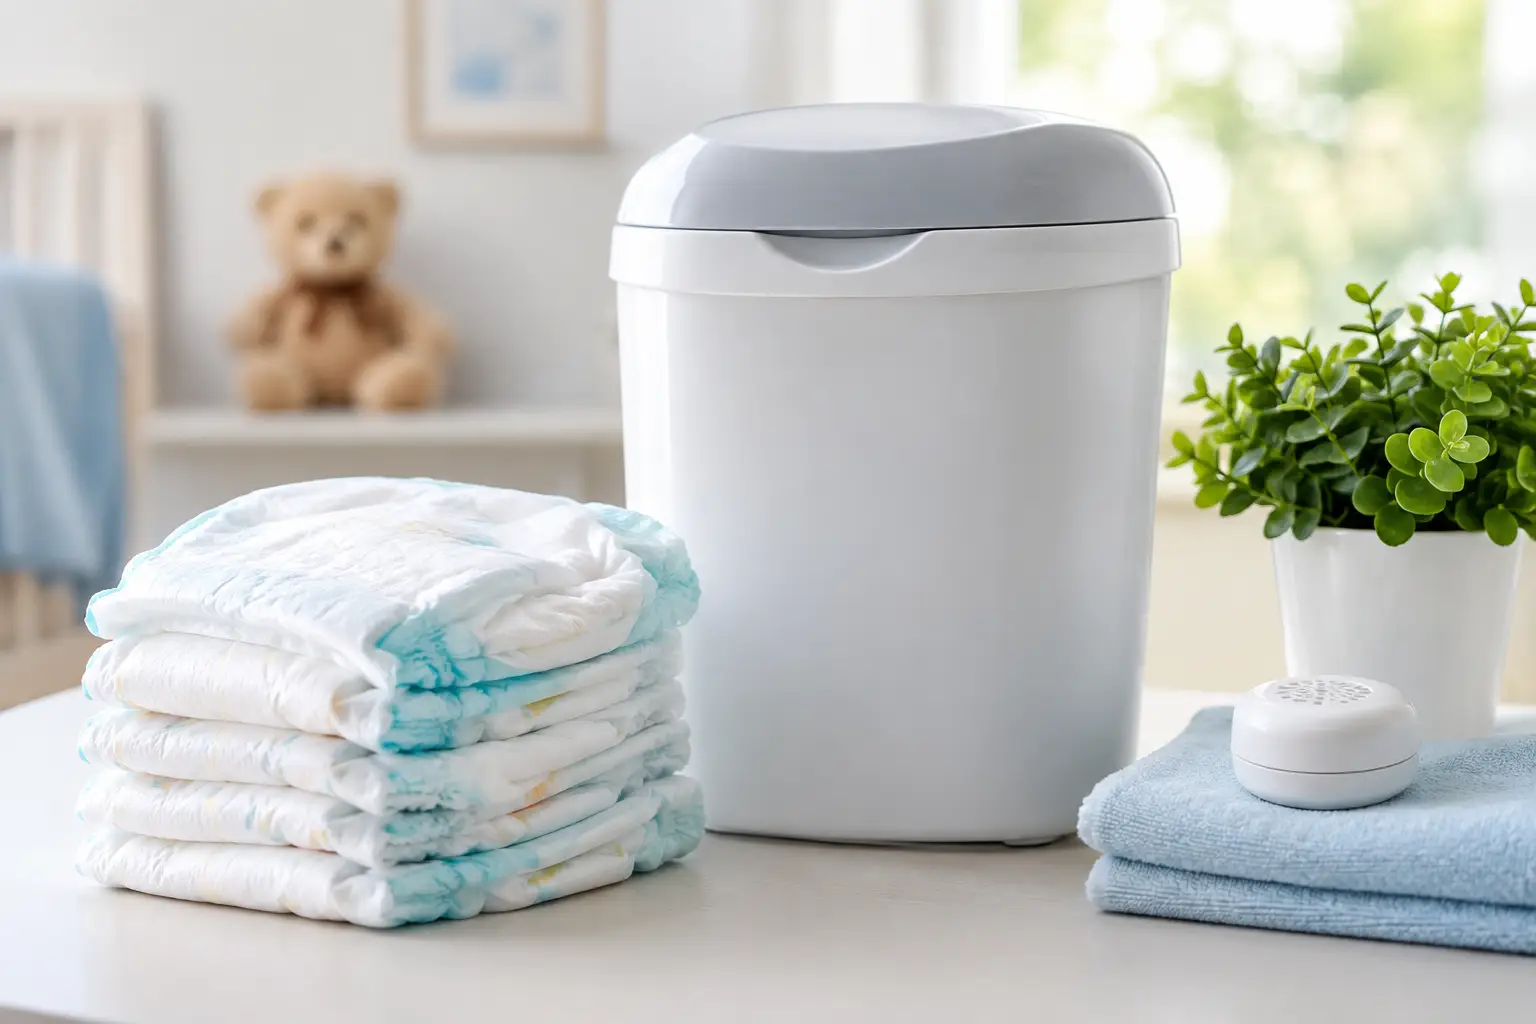
A diaper pail can turn on you fast. One minute the nursery looks like a serene little cloud of soft lighting and folded onesies. The next, a mysterious funk is crawling out from under the lid like it has a lease. Real diaper odor removal is not about blasting the room with enough synthetic perfume to give the stink a floral hat. It means removing what is causing the smell, cleaning the surfaces that absorbed it, and keeping the nursery comfortable for the small human calling the shots.
Why Diaper Smell Lingers Like a Tiny Curse
Used diapers contain moisture, bacteria, and organic waste. Once the pail warms up, those odor-causing compounds multiply their evil little congregation. A closed pail may contain the smell for a while, but it also concentrates it. Open the lid and, well, prepare for a brief haunting.
The diaper itself is only part of the problem. Odors settle into the pail liner, the inside of the bin, nearby rugs, upholstered gliders, changing-pad covers, and even the laundry hamper. If you only empty the trash and spray the air, you have not solved the problem. You have merely given the demon a new outfit.
There is also a practical distinction between a healthy diaper smell and a red flag. A suddenly unusual or extremely strong urine odor, especially alongside fever, feeding changes, discomfort, or fewer wet diapers, is a reason to call your child’s pediatrician. No spray, candle, or heroic amount of laundry is a substitute for medical guidance when something seems off.
Diaper Odor Removal Starts at the Source
The fastest path to a fresher nursery is a boringly effective one: empty waste often. In the newborn months, that can mean daily. You may get away with every other day for a lightly used pail, but it depends on room temperature, the type of diapers, and whether the pail actually seals well. Summer and small apartments are particularly unforgiving.
A diaper pail with a close-fitting lid helps, but it is not a magic tomb. Use a bag that fits properly, close it tightly before taking it out, and avoid packing diapers down with your hands. Not because we doubt your courage, but because nobody needs that job description.
For disposable diapers, roll and fasten each one before tossing it. For solid waste, follow the diaper manufacturer’s and local waste-handling guidance. With cloth diapers, dispose of solids as directed, store soiled diapers in a washable wet bag or pail system, and wash them on a consistent schedule. Letting either type marinate for days creates a much bigger odor battle.
Clean the pail, not just the contents
Each time you change the bag, inspect the inside of the pail. If there is visible residue, clean it promptly with warm water and a mild cleaner appropriate for the material. Dry it thoroughly before adding a fresh liner. Moisture is the sidekick odor never deserved.
At least weekly, or immediately after a leak, give the pail a more thorough wash. Remove any removable inner bucket, clean the lid hinges and rim, and wipe the exterior where hands, diaper tabs, and accidental messes tend to land. Do not mix cleaning products, especially bleach with ammonia-containing cleaners or acids. Chemistry class has enough villains already.
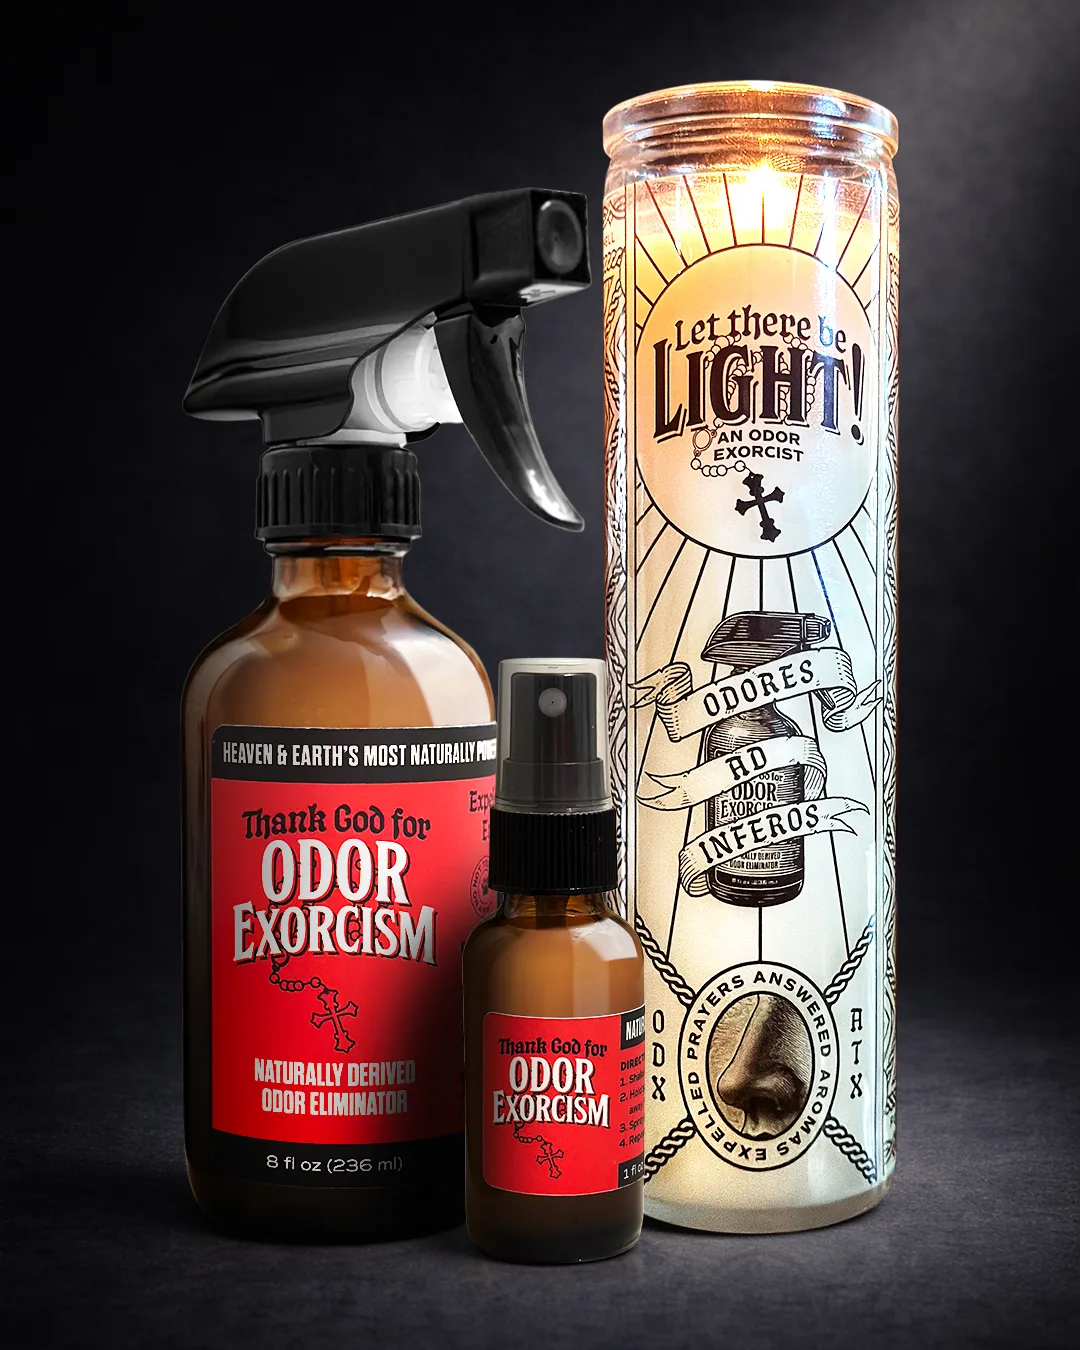
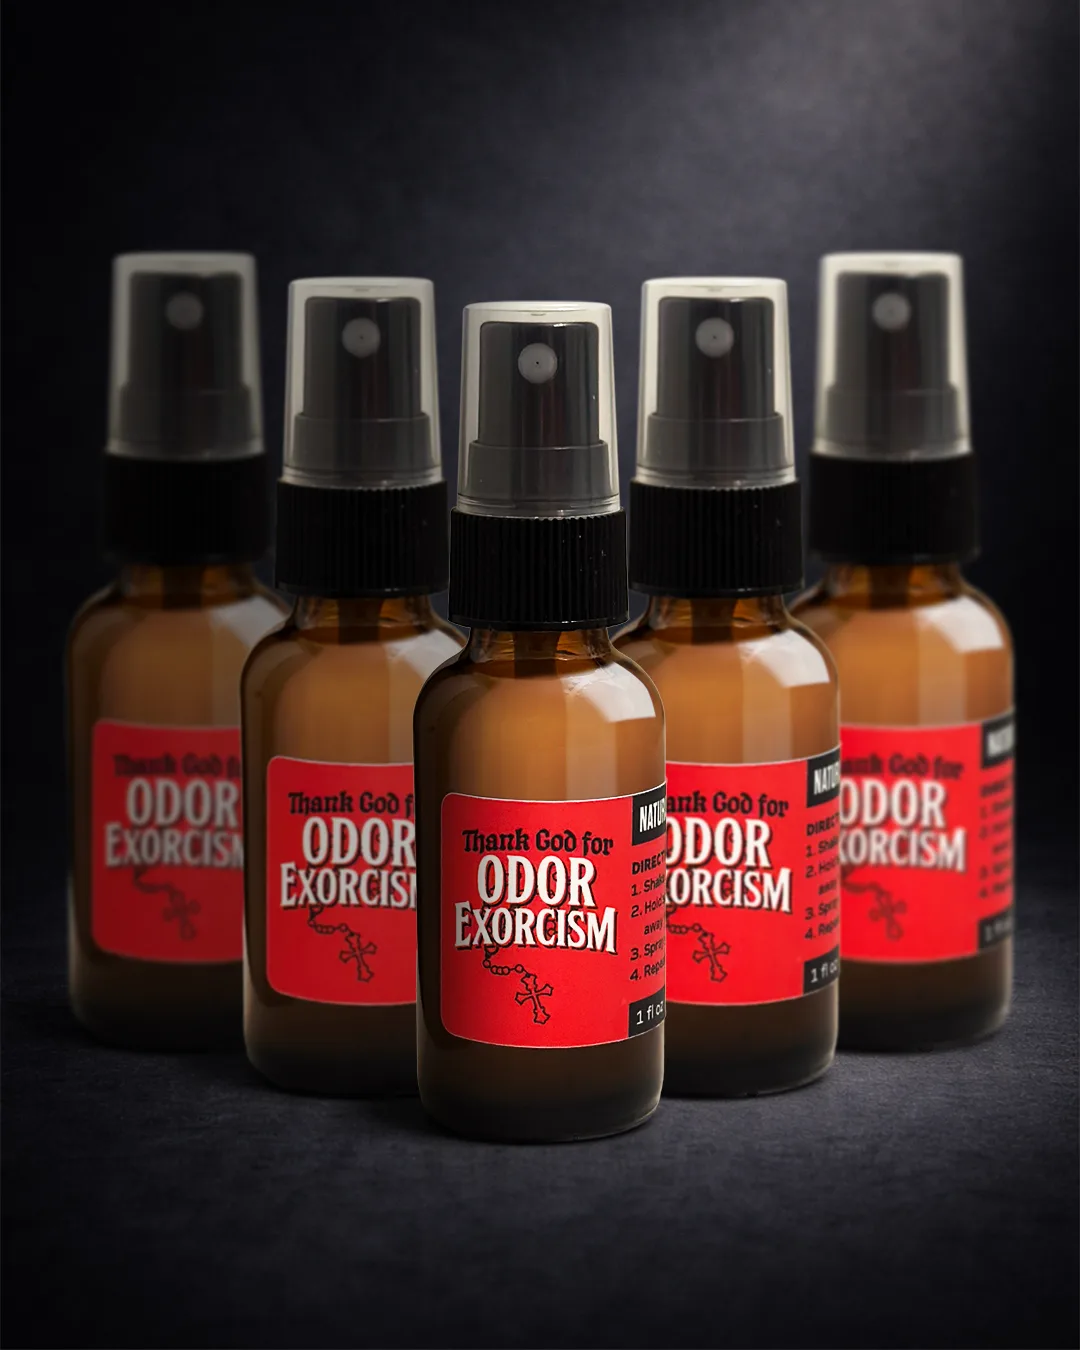
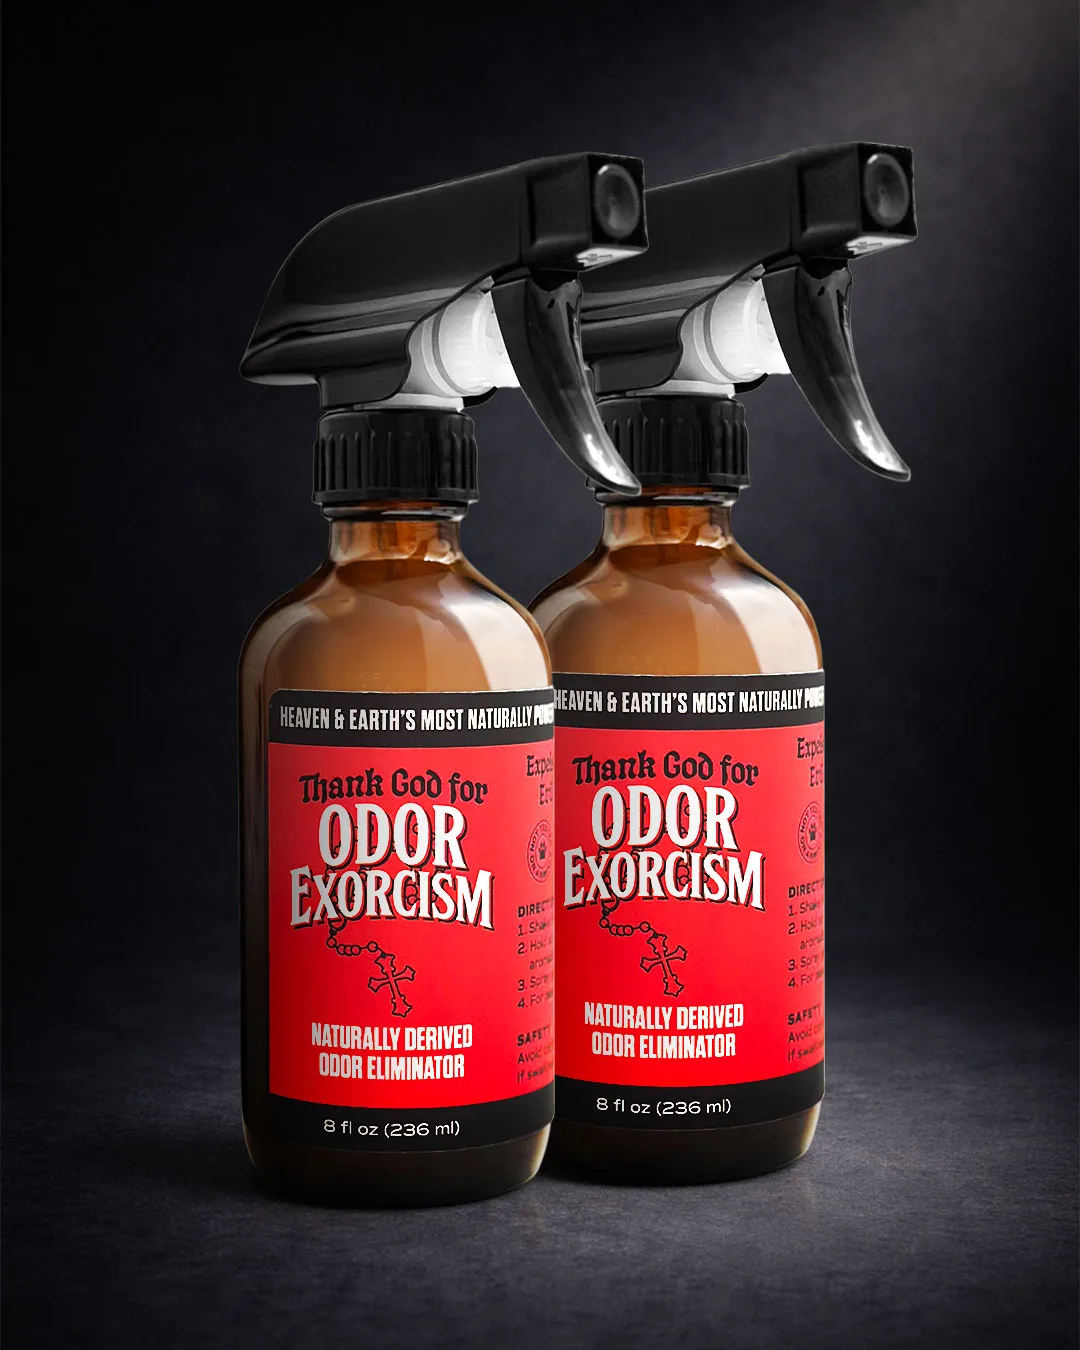
Once the hard surfaces are clean and dry, use an odor-neutralizing spray made for household surfaces if the product label says it is suitable for that material. Odor Exorcism can be used on hard surfaces and many soft household surfaces to neutralize lingering smells rather than burying them under a synthetic-fragrance fog. Always follow the label, test an inconspicuous area first, and let treated surfaces dry completely before baby comes back into contact with them.
Treat the Soft Surfaces That Hold the Funk
A nursery can look spotless while the fabric items quietly preserve the evidence. The changing-pad cover, rug, glider, curtains, laundry basket, and even decorative pillows may absorb odors over time. This is especially true when the room is small or the pail sits near fabric furniture.
Wash changing-pad covers, burp cloths, blankets, and washable cushion covers according to their care labels. For laundry that still smells after washing, avoid escalating straight to heavily fragranced boosters. First check whether the machine itself needs cleaning, whether the load was overcrowded, and whether items dried fully. Damp fabric is an open invitation to musty smells.
For a rug or upholstered chair, address accidents quickly. Blot moisture with a clean cloth rather than rubbing it deeper into the fibers. Use an appropriate cleaner for the material, then allow it to dry completely. After the source is cleaned, an odor eliminator suited to upholstery or carpet can help with the leftover smell. Saturating fabrics is rarely the answer. A light, even application and full drying time are more civilized, even if your day is not.
Wood furniture deserves extra care. Wipe spills right away, use only products suitable for sealed wood, and do not leave moisture sitting on the surface. For plastic changing tables and diaper caddies, clean seams and undersides where residue can hide with astonishing commitment.
Stop Masking Odor With a Perfume Exorcism
Some air fresheners treat a nursery like a nightclub bathroom: more fragrance, more confidence, more questions. But a strong scented product does not necessarily mean the bad odor is gone. It may just mean you are now smelling lavender, powder, and diaper at the same time. That is not freshness. That is a cursed bouquet.
For a baby’s room, restraint is the move. Keep air circulating when weather and safety allow. Open a window briefly, run an exhaust fan in an adjacent bathroom, or use your home’s ventilation system. If you use scented products, choose them carefully, use them sparingly, and avoid spraying directly on baby items, skin, toys, pacifiers, feeding gear, or crib bedding unless a product is specifically intended and labeled for that use.
Naturally derived ingredients are a thoughtful choice for many households, but “natural” does not mean every product is right for every person or every use. Babies, pets, and fragrance-sensitive adults can react to scents, including essential oils. Read directions, follow age and safety guidance, and stop using a product if it causes irritation or breathing discomfort. For persistent concerns, ask your pediatrician.
A Nursery Routine That Keeps the Stink Possessed, Not Present
You do not need a 14-step sanitation ritual performed under a full moon. A few consistent habits prevent most diaper-pail drama. Empty the pail regularly, wipe any leaks immediately, wash reusable textiles before odors set in, and clean the pail itself before it starts broadcasting its existence.
Keep a small cleanup kit near the changing station: clean cloths, a gentle surface cleaner, spare pail liners, and an odor-neutralizing spray for appropriate hard or soft surfaces. This does not make parenthood glamorous. It does make the 2 a.m. blowout less likely to become a multi-day olfactory saga.
If odor returns immediately after a full clean, investigate rather than spraying harder. Look under the pail, inside its lid, in the liner holder, around the changing table, and beneath the rug. Check the laundry basket and any forgotten wet bag. Usually, there is a specific culprit waiting to be evicted.
When the Smell Is Bigger Than the Diaper Pail
A persistent sewage-like, musty, or chemical smell may not be diaper-related at all. Check nearby drains, the HVAC vent, damp carpeting, and the wall behind furniture. If you find water damage, visible mold, a plumbing issue, or an odor that will not quit despite cleaning, bring in the right professional. Some household demons require a plumber, not better room spray.
The goal is not a nursery that smells aggressively like anything. It is a room that feels clean, calm, and free from the lingering evidence of yesterday’s diaper shift. Handle the source, clean what absorbed it, and let fresh air do its humble holy work.